5 Tips for Taking Beautiful Photos of Nature
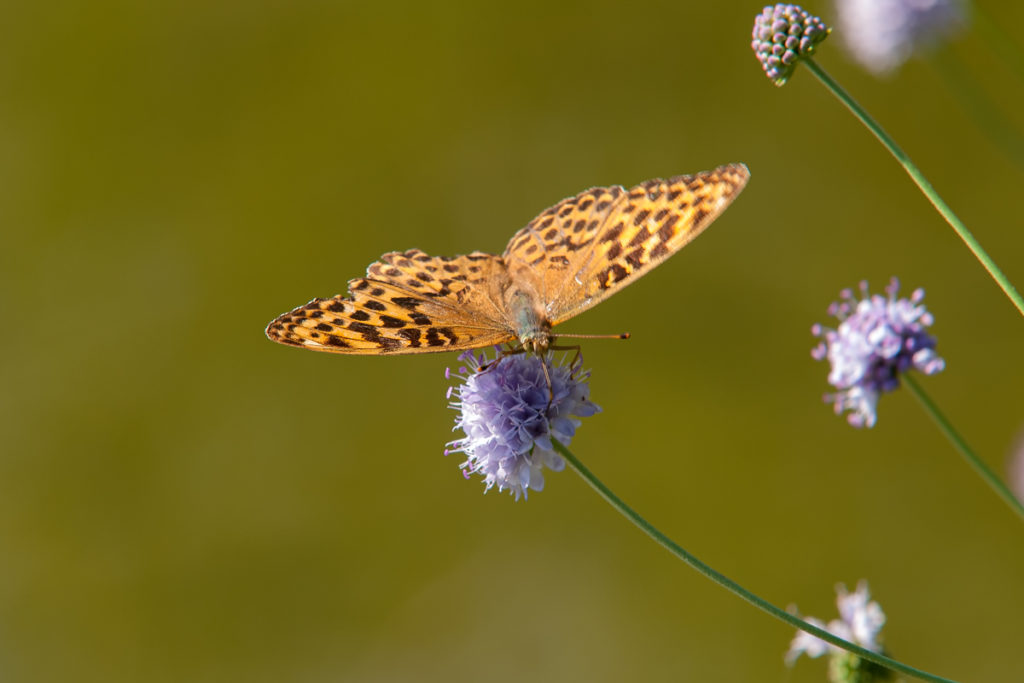
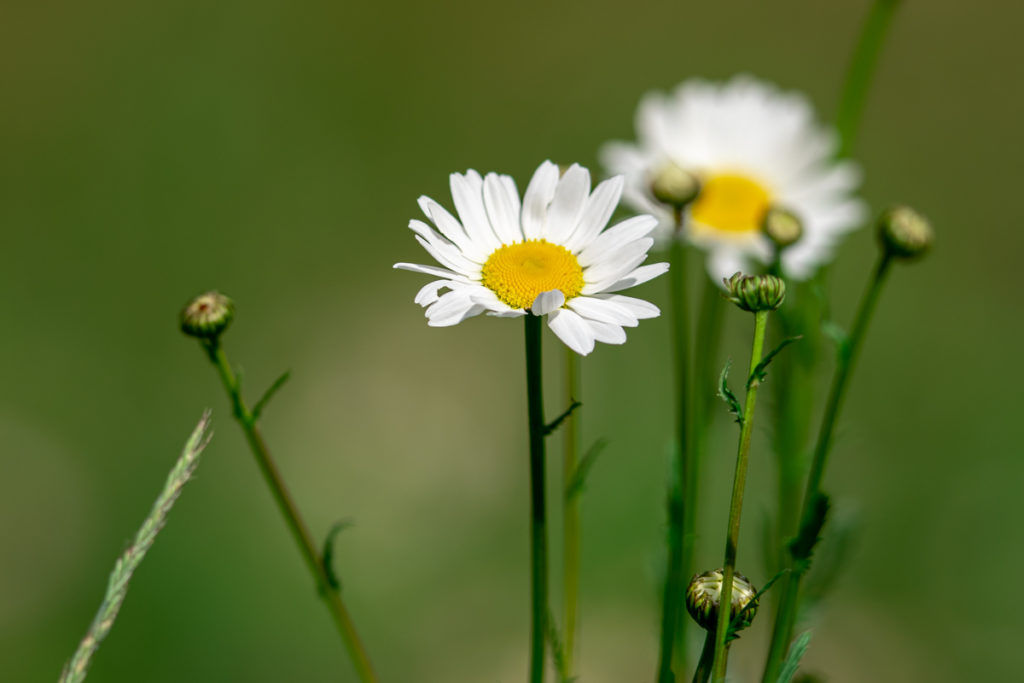
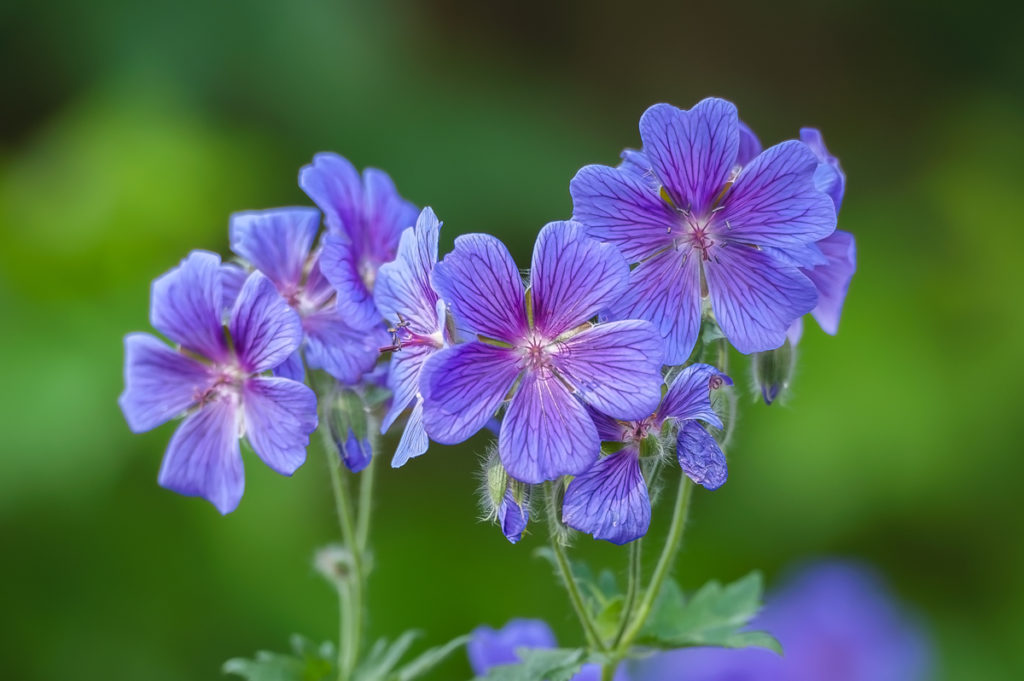
Whether plants, insects or animals, each of these subjects has its own beauty. Capturing and depicting this beauty in pictures is the high art of nature photography.
Follow Chris Renk, the Chapter Organiser of the Germany Chapter and Member of the Society’s Nature Special Interest Group, as he gives you five essential tips to help you achieve better images out in nature.
# 1 – be prepared, know your subject!
„Always be prepared!“ – I think all of you have heard this saying before. Be it as a scout, during military service, or in your professional life.
This also applies to us photographers because it is crucial to know our photo subjects‘ behavioural pattern and habitat! Where else would we find them and know where we can best photograph them.
Fortunately, there is the internet nowadays, where you can access a wide range of information sources.
For example, when preparing a photo trip, I often go to the Nature Conservancy website, the Hunting Association or the Wildlife Trust. There I find detailed information on wildlife habitats and their occurrences, which helps me choose the right locations and the equipment I need.
You can also get tips there on tracking and the distinct voices of wildlife.
Here is a list of links to the most popular associations:
- https://www.wildlifetrusts.org/
- https://www.rspb.org.uk/
- British wildlife | Natural History Museum (nhm.ac.uk)
Next, I use Google Earth and Google Maps to get a first impression of the planned locations from where I want to take pictures.
I work through the following points:
- How long will it take to get to the location
- Parking possibilities
- Walking time from the car park to the photo location
- Terrain conditions (wetlands, terrain cover, elevation profiles)
- Opportunities for overnight stays in tents/permanent shelters
- Water supply (springs, rivers, lakes)
- Mobile phone coverage for emergency purposes
After that, I find out about the weather conditions during the planned photo trip period.
Finally, I familiarise myself with the functions I need, such as autofocus settings, live view or white balance settings on my camera.
Besides, I visit the video platform „YouTube“ to watch one or two tutorial videos. Especially here, there are many videos on various photo topics, which are also free of charge!
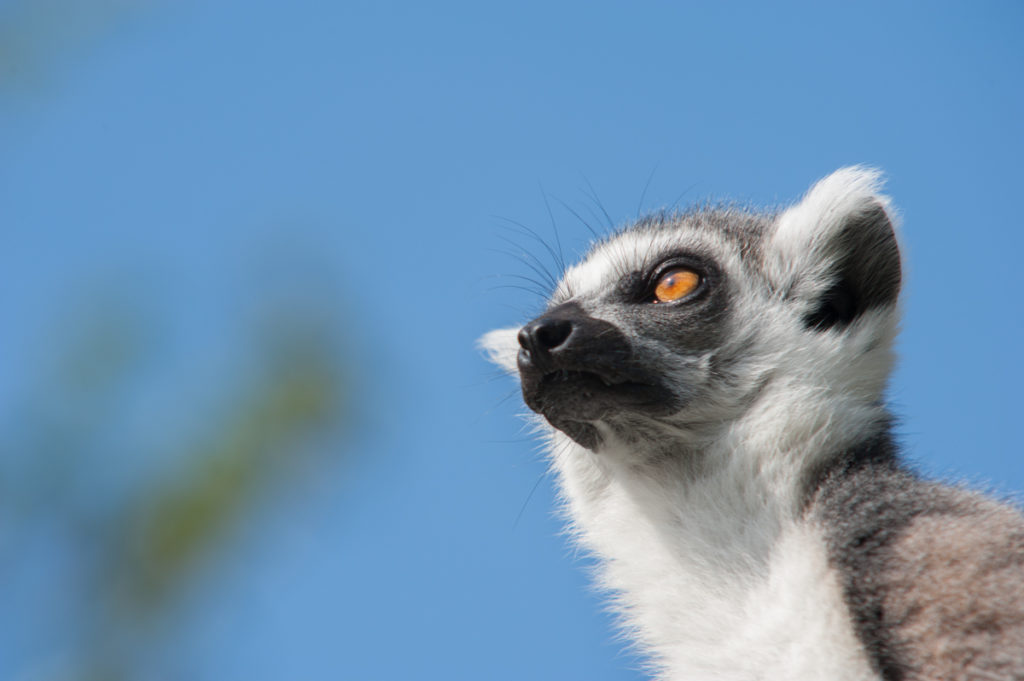
#2 – get on eye level!
One of the points, often forgotten in the rush of excitement of having your favourite photo subject in front of your lens!
Besides, nothing is more boring than a shot of a frog from a bird’s eye view.
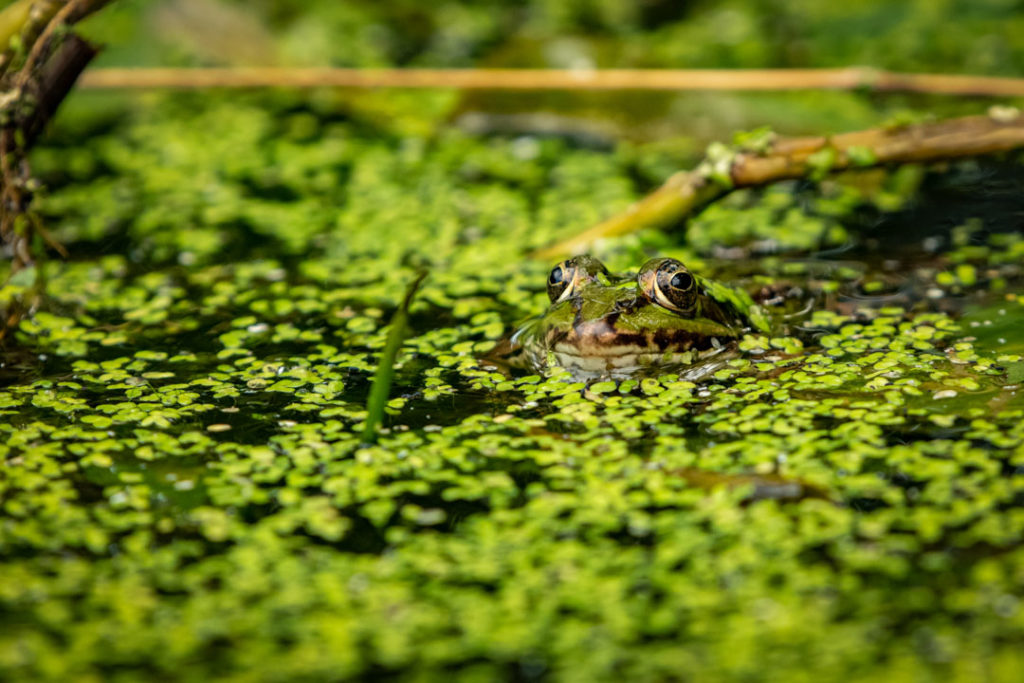
So get down on your stomach and directly look the subject of your desire in the eyes. It creates extraordinary moments that the ordinary viewer would not usually see.
Your photos will be all the more impressive because they show a unique perspective. Whether you shoot freehand or use a tripod for stabilisation doesn’t matter.
You will also notice that you need to familiarise yourself with your photo subjects‘ behaviour to predict their behaviour. Only then will you be able to position yourself correctly to take the photo subject at the right moment.

To not come home too dirty, of course, I always carry a foldable mat with me. I can quickly spread it out on the floor and use it to create a comfortable lying position. For kneeling positions, I use knee pads. After all, one is not getting any younger!
#3 – pick the right lens!
One of the most discussed points within the photo community is which lens to use for which subject.
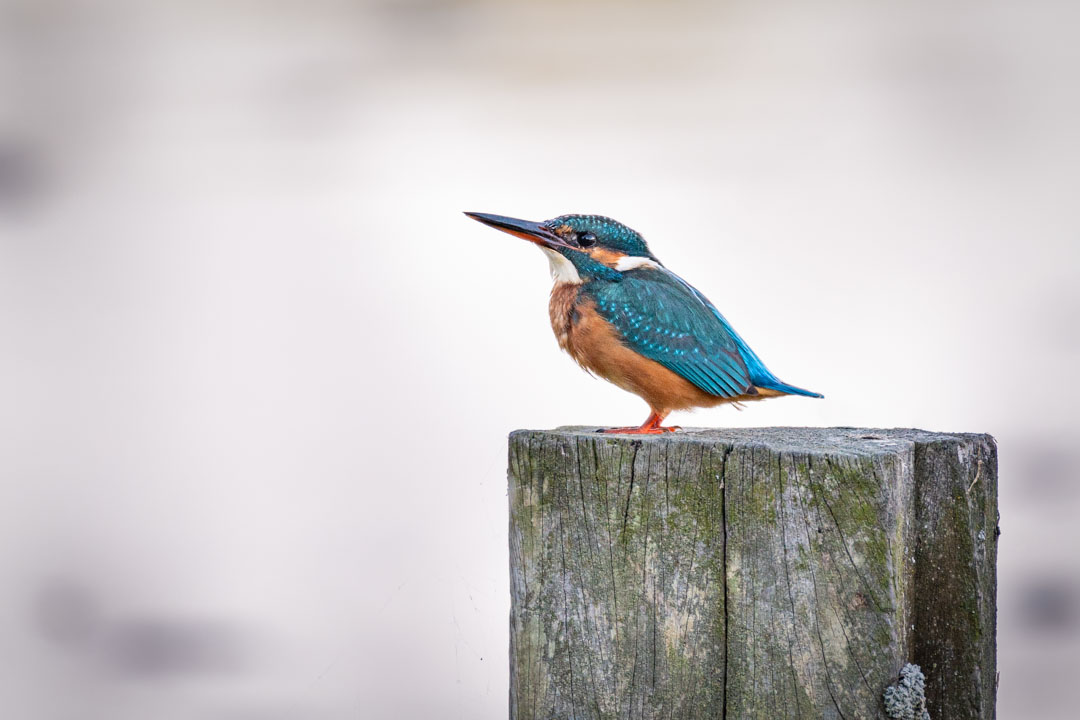
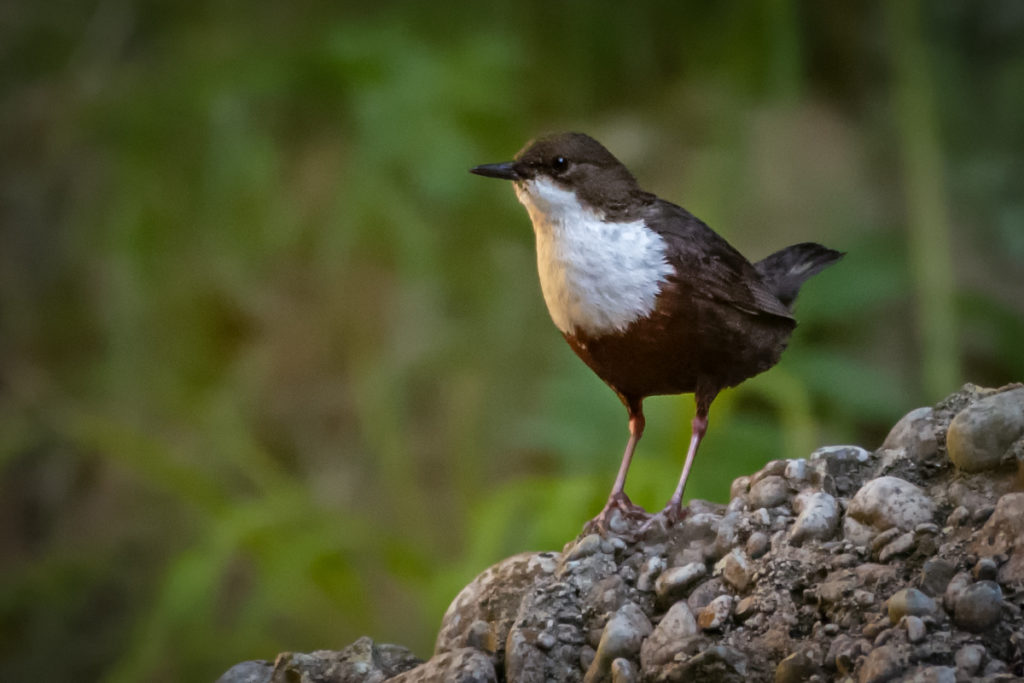
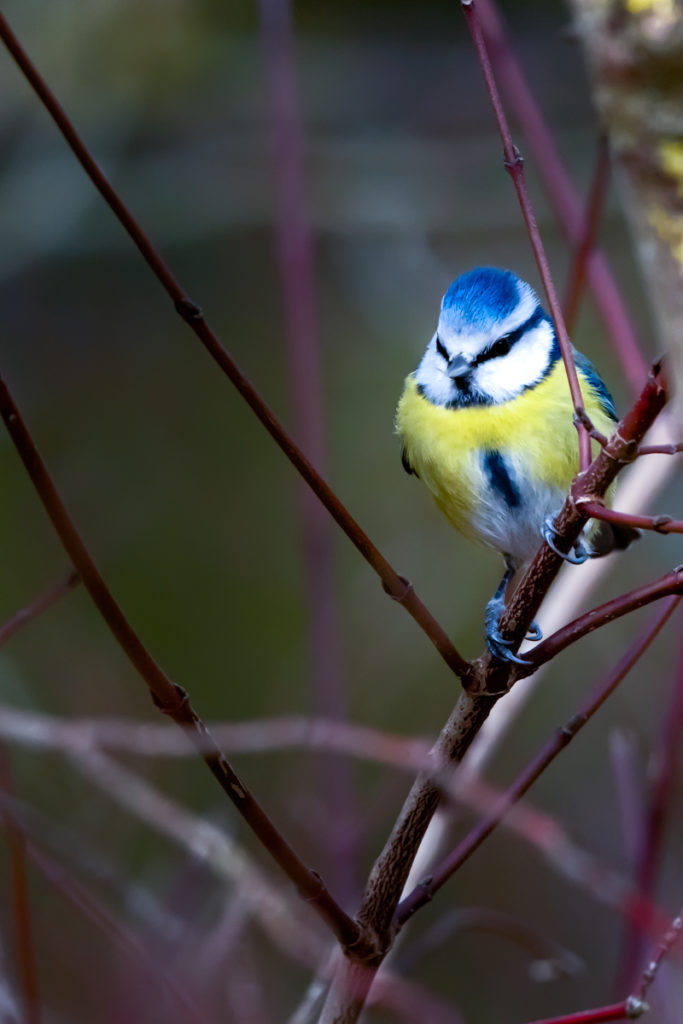
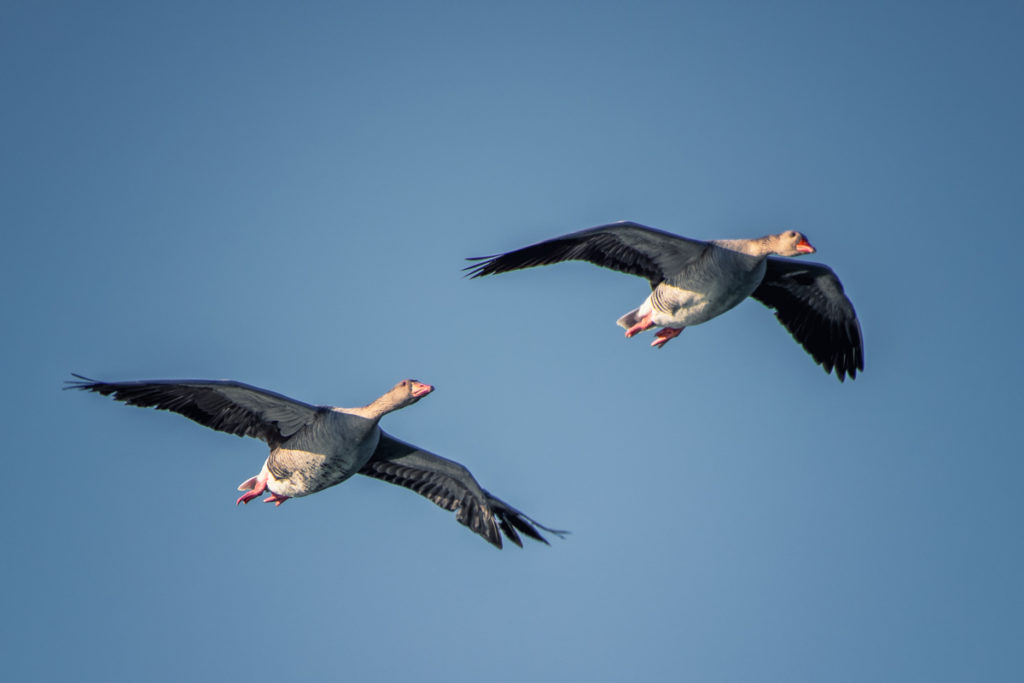
Of course, a telephoto lens is advantageous when photographing birds or wild animals with pronounced escaping behaviour.
Still, if the animals are so trusting, and humans‘ proximity does not disturb them, then a wide-angle lens can also be the means to an end.

Of course, having a good selection of lenses is an advantage.
Whether to get a prime lens or to settle for a zoom lens, everyone has to make up for themselves.
I too, would like to call a 600mm f4 prime lens my own, but the price of 11,000 euros puts me off again. That’s why I bought a 200-500 F5.6 (1049,- Euro), and I still don’t regret it. The lower weight is also an influential factor!
Here is a list of subjects and the lenses I use for them:
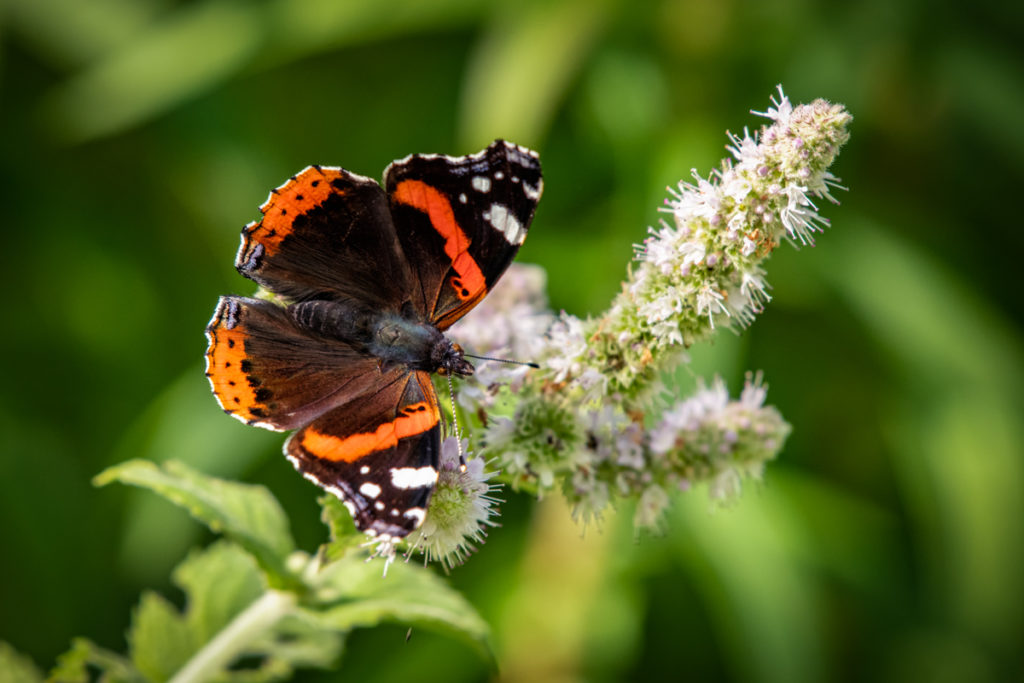
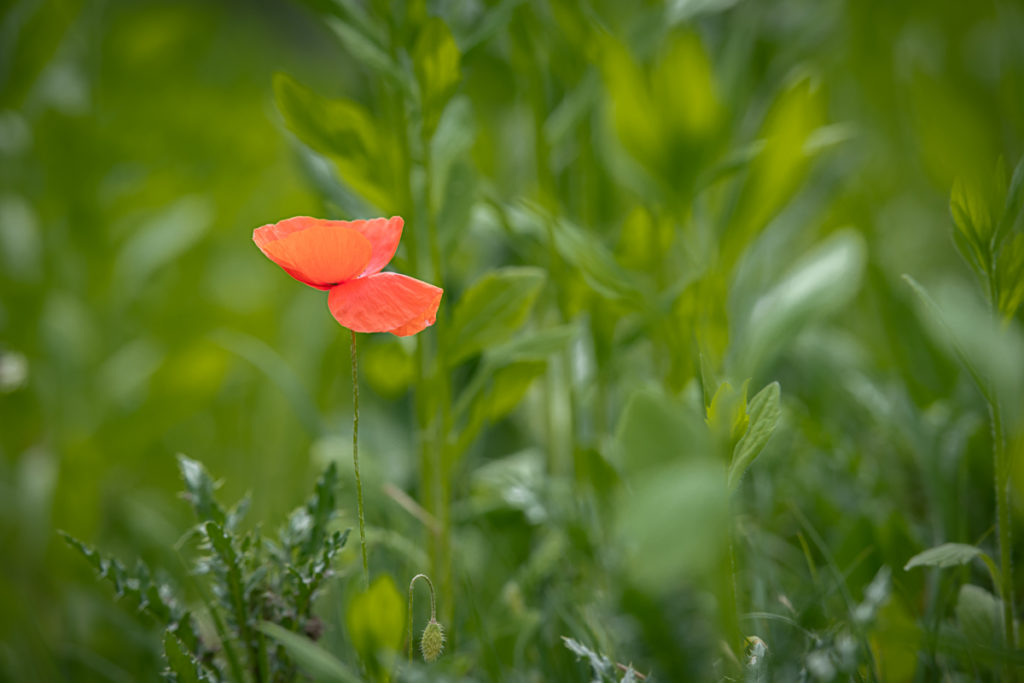
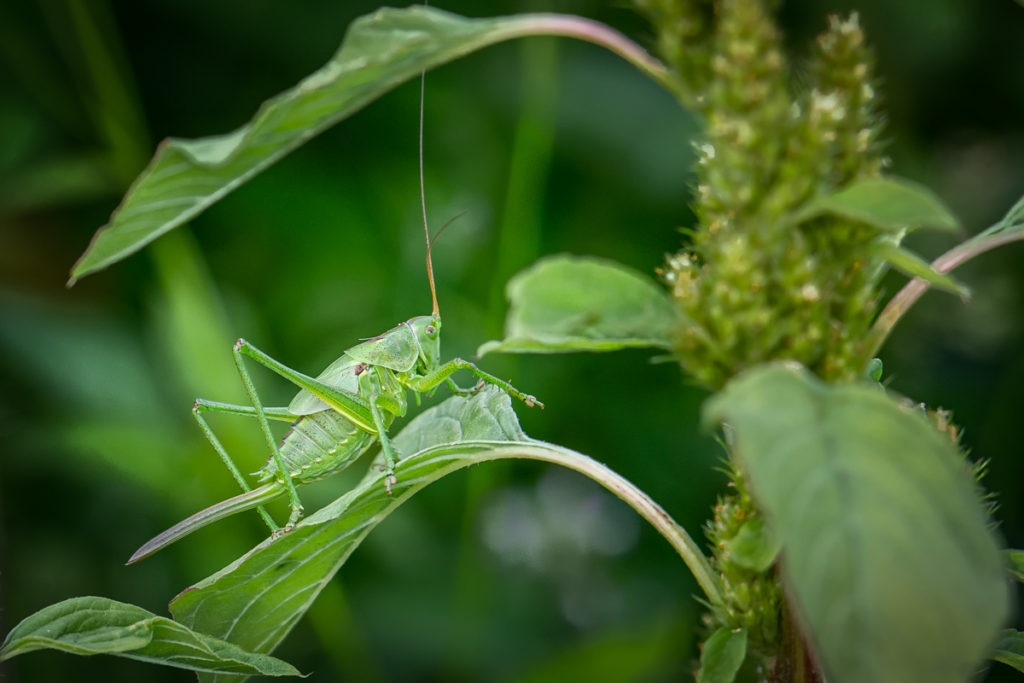
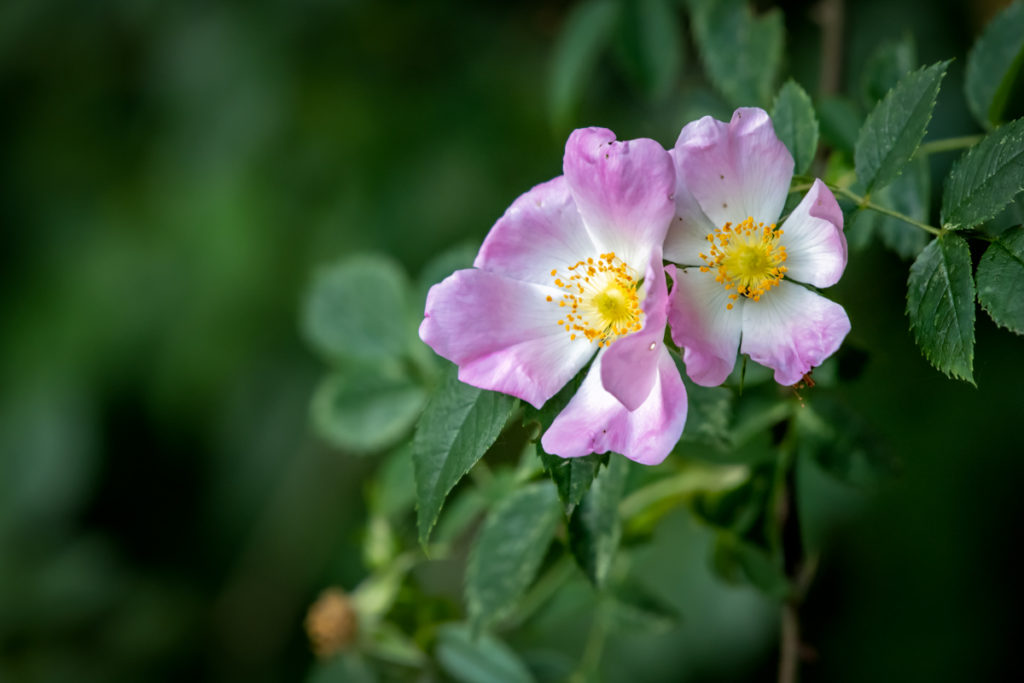
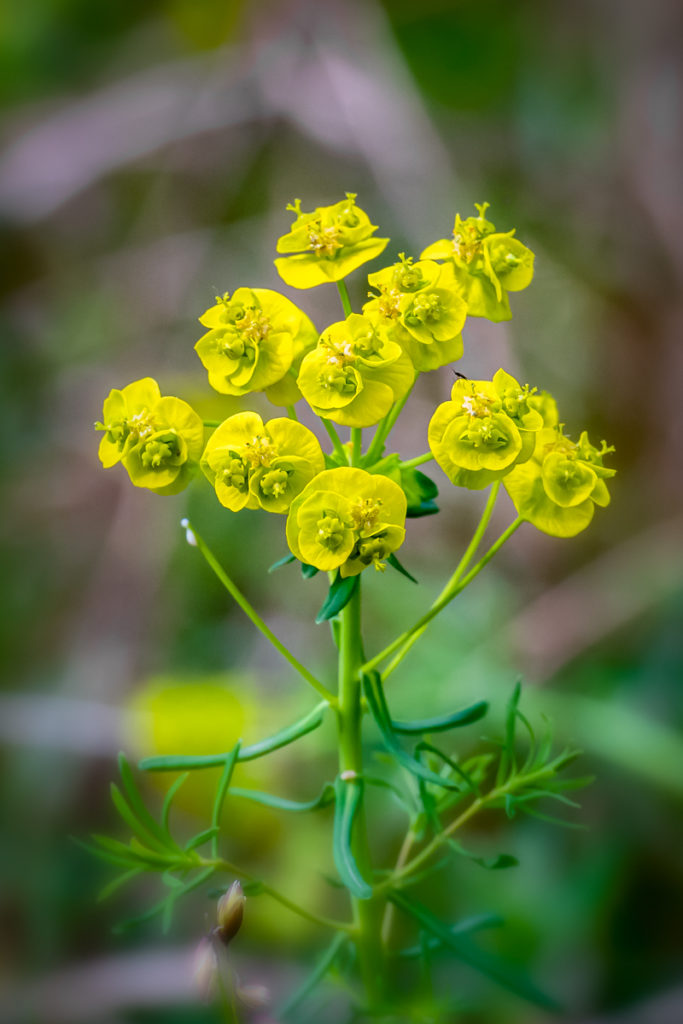
- Insects, plants: 24-70mm / 50mm Macro / 105mm Macro / 70-200mm VR / 200-500mm VR
- Amphibians: 50mm Macro / 105mm Macro / 70-200mm VR /200-500mm VR
- Birds / Reptiles: 24-70mm / 70-200mm VR/ 200-500mm VR
- Mammals: 70-200mm VR/ 200-500mm VR
The question about the right aperture depends, of course, on the purpose of the photo!
For documentation purposes, the entire subject should be in focus. To achieve this, you should ideally use an aperture of f8. The lens’s image stabilisation and availability of higher ISO Rates compensate for the resulting longer exposure time.
If you want to photograph the subject with artistic intent, you can use your lens’s full range of apertures. In this case, the aperture f5.6 has turned out to be the optimal setting. It offers an excellent bokeh with sufficient depth of field!
#4 – shoot in RAW!
Without wishing to offend photographers who still shoot in JEPG format, shooting in RAW is simply the standard! Using JPEG leaves a lot of the advantages of today’s digital cameras completely unused. The high sensitivity of modern camera sensors allows photography in a wide range of lighting conditions without losing image quality.
Arguments of high consumption of time for developing RAW photos and the reduced shooting speed due to large amounts of data when taking RAW images are made absurd by the setting up an almost entirely automated development workflow and the availability of ever-cheaper and faster SD/CF cards.
The possibility of changing the wrong settings of exposure values and white balance afterwards is worth its weight in gold.
So get on your camera and take the step to switch to RAW!
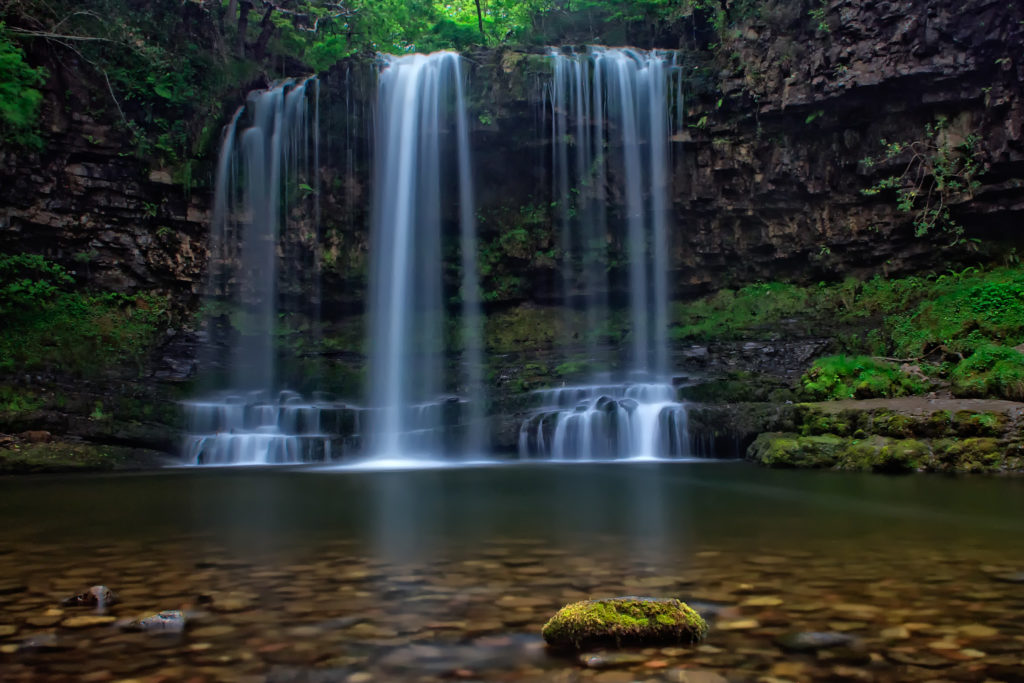
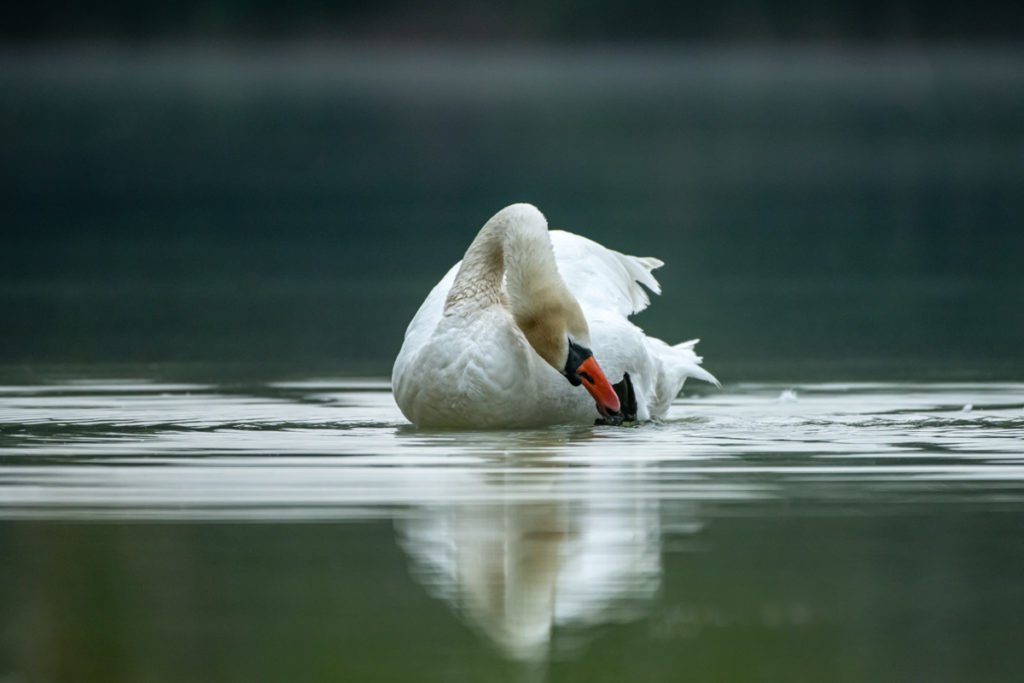
#5 – don’t mind the weather!
I know it’s easy to talk about the weather when you come from a country with moderate climate. It’s not for nothing that the saying „It is raining cats and dogs“ comes from the English-speaking world! Nevertheless, you should not let bad weather stop you from taking pictures!
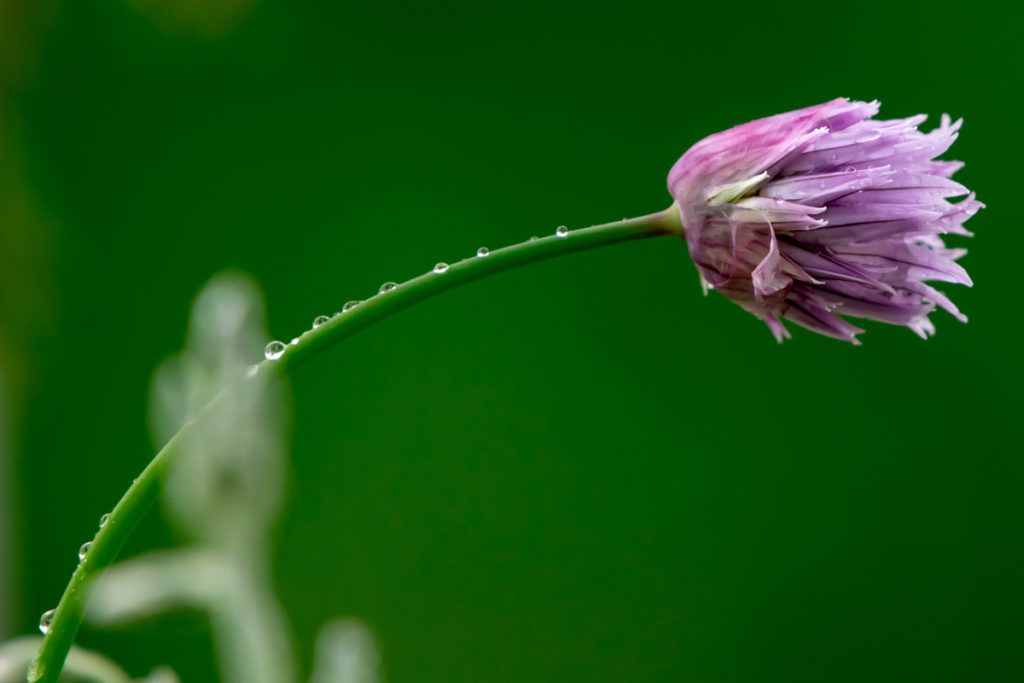
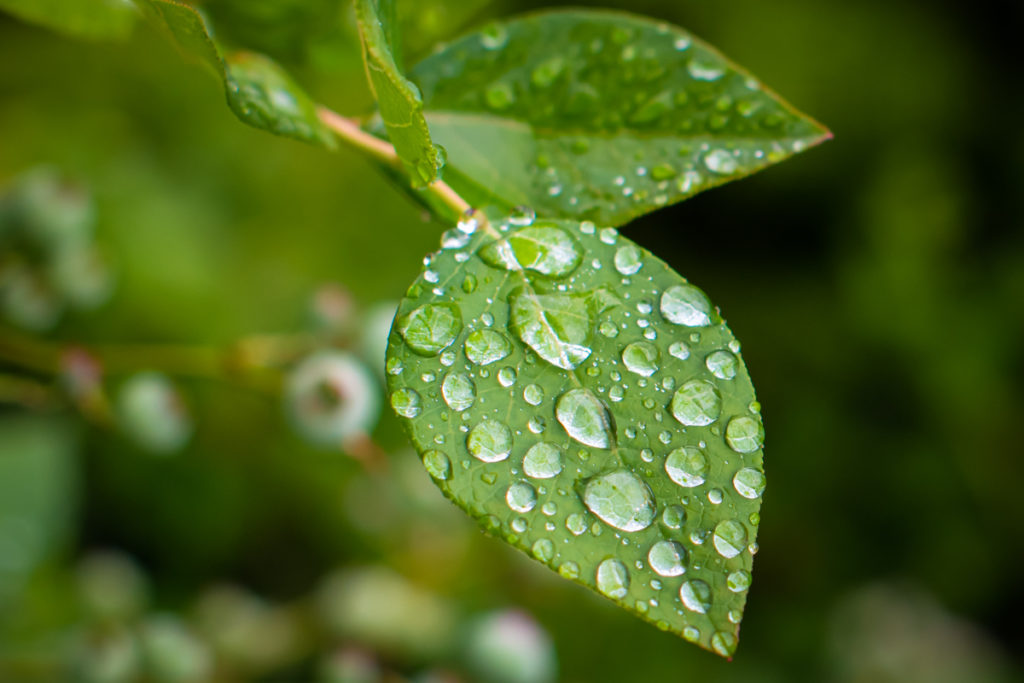
Especially the moments before the actual rain, and immediately afterwards offer various atmospheric images and colours that you cannot otherwise experience and capture in pictures.
Wildlife behaviour during bad weather is often not covered enough and offers new and exciting insights into the animal world.
Other motifs include water drops on plant leaves or reflections on the water drops themselves.
I always carry a rain cover in my photo backpack to be prepared for any weather.
It is not expensive, out of simple PVC material that protects lenses from wide-angle to medium-telephoto (up to 500mm) from heavy rain.
As I said, don’t mind the weather, and I hope to see you out there during the next rain shower.

Related Posts